One of the things I liked about this particular kit was the truss flooring system, it's an innovative design.
The whole house sits on 10 piles (ie the poles that are concreted into the ground), some bearers stretch out across the piles and finaly a whole lot of floor trusses sit on that. Simple, effective.
Interesting too, well must be, because after I spoke to the Shire Building Inspector letting him know I had started work, he bagan stopping in about once a week to check on progress - he hadn't seen a house done with this floor system before!
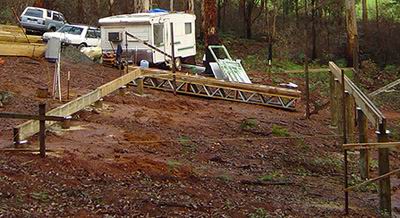
String out the bearers.
The bearers are just big tough pieces of wood strung out along the piles - 2 side by side and two end to end. For now, they just rest in place.
Out go the floor trusses. Two side by side on either end, then at 600 centres. Strangely, not that I'm complaining, I had received 5 extra trusses. Mine now ;) I decided to switch to 400 centres over the bath area and in the middle main area of the houseto stiffen up the floor in those areas I considered would take more weight. It did require a bit of thinking ahead - the floor sheeting that goes on top is in 3600 lengths and must butt join on a truss. I calculated the lengths as needing to be staggered at thirds (ie 3 1/3 per row) so therefore there must always be a truss at 1200 centres.
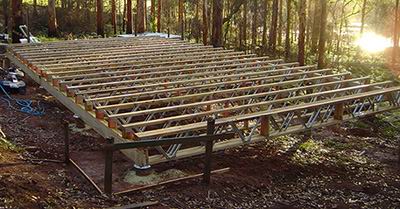
String out the floor trusses.
1200 means 2*600 centres or 3*400 centres, so with 5 extra trusses it meant that I got 5 lots of 3*400 centre options. Well, this is all getting confusing now so lets just say that "I put out the trusses" ;)
Nailgun. Beautiful. I borrowed this one from me Unky Roy. You buy 75mm hot dipped galv nails in boxes of 3000. I said to Uncy Roy, "3000! No way I'd need that many!" He said I would, and, when I ran out of them and then had to buy more, I now understand how easy it is to get carried away with a nailgun.

A Senco Framing Gun.
Nailgun is another tool that I'd be putting on my "must have" list. Try your hardest to beg/borrow one, you *could* put toghter a house without one, but why would you?
Bearers are nailed together, trusses are nailed to bearers, we are starting to have a rigid structure. But now I notice that some trusses camber up quite high, some not so high - the tops of the trusses differ by around 100mm in some places!
Not to fear, that's that those little noggings in the trusses are for. You run a length of wood they call a "strongback" through the guts - clamp the truss down hard and level, nail it, move to the next. Once the strongbacks are locked in place, the top of the floor is as good as flat.
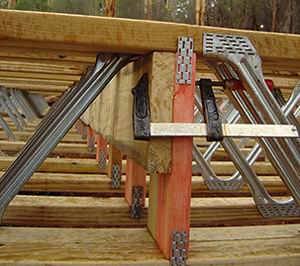
Putting the "Strongbacks" in place - clamp sideways AND upwards.
The perferated underfloor foil goes on next. Heaps of floor glue down, whip up a 40mm chock on a length of wood to ensure that the foil has a 40mm sag, which allows for water to run off. String out a row, put down the floor. The floor itself is like a tounge'n'groove waterproof chipboard - I put out one row, lined it up straight and nailed it down.
Now the manufacturers recommend screwing it down, but I didn't have any screws on me at the time and was keen to keep going - so I grabbed the nailgun. Unfortunately, I couldn't set the pressure on the nailgun low enough where it wouldn't blast the nails 3/4 of the way through the floor! In the end Dad and I pulled out the hammers and carefully drove in nails.
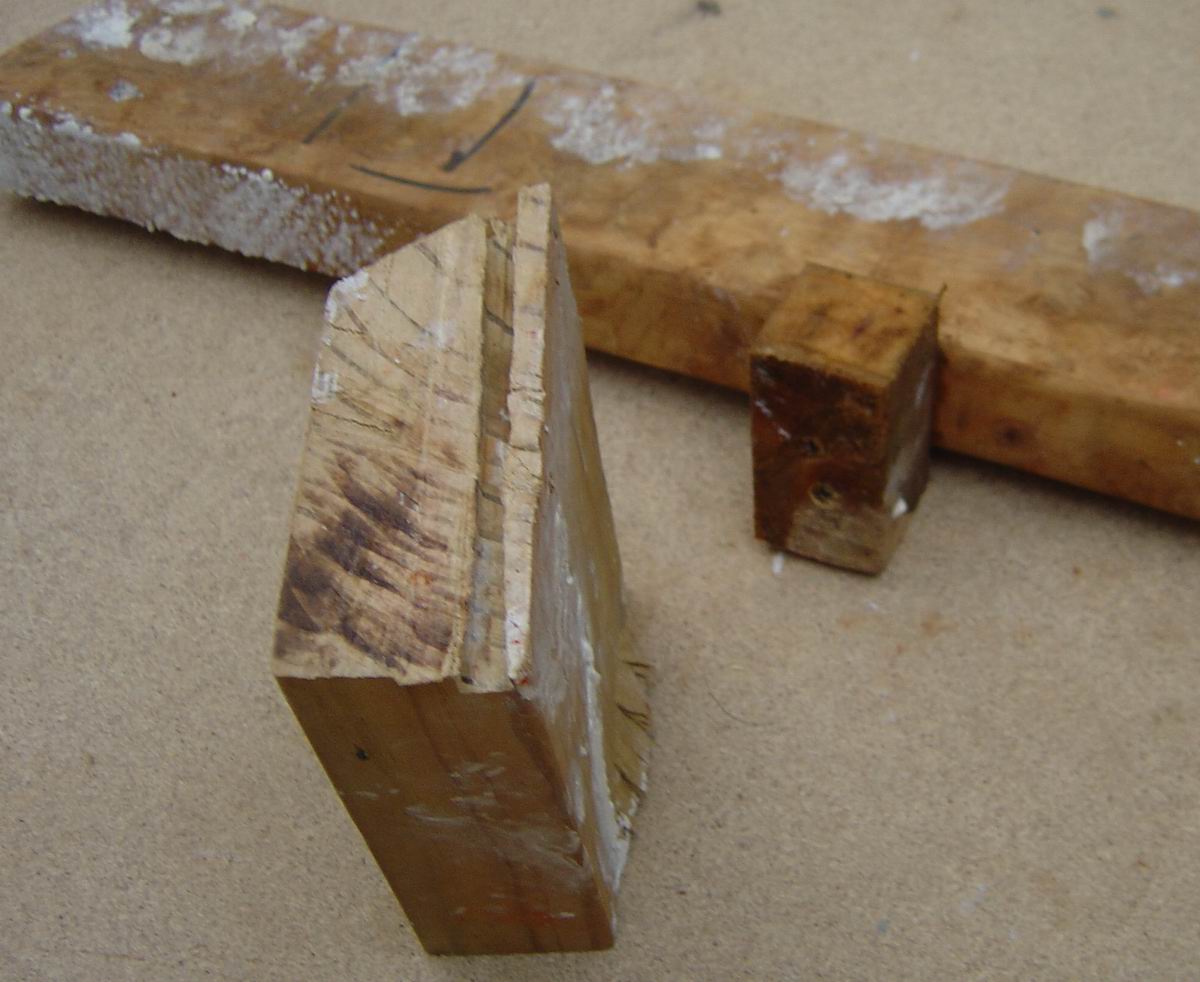
40mm sag chock, and a "special" tounge banging tool so I can get the boards up against each other without hurting the tounge.
I used 25 litres of floor glue - under the foil, over the foil, in the groove - everywhere. The nails simply hold the floor down until the glue sets, then they aren't doing anything, it's the glue that keeps everything in place. The glue also prevents squeaking as you walk across it, hopefully I got it everywhere.

Square dance anyone?